![MPIFinalLogo[1]-page-001](http://chadwaterbury.com/wp-content/uploads/2013/11/MPIFinalLogo1-page-001.jpg)
During my time in school to complete a Doctor of Physical Therapy (DPT) degree, I spent many months at the Movement Performance Institute (MPI). The West Los Angeles-based facility is run by knee-rehab savant and biomechanics expert, Chris Powers, Ph.D.
Professor Powers was one of the pioneering researchers to clinically demonstrate a relationship between knee pain and hip weakness. If you had knee pain 15 or 20 years ago, doctors and physical therapists would commonly focus on the knee joint itself. Thanks to Prof. Powers’ research, we now know that proximal factors such as the hips and trunk are often the culprit.
When the hips are weak it not only sets you up for injury, but also limits performance in the sprint, squat, jump, lunge, deadlift and just about every other athletic movement you can think of.
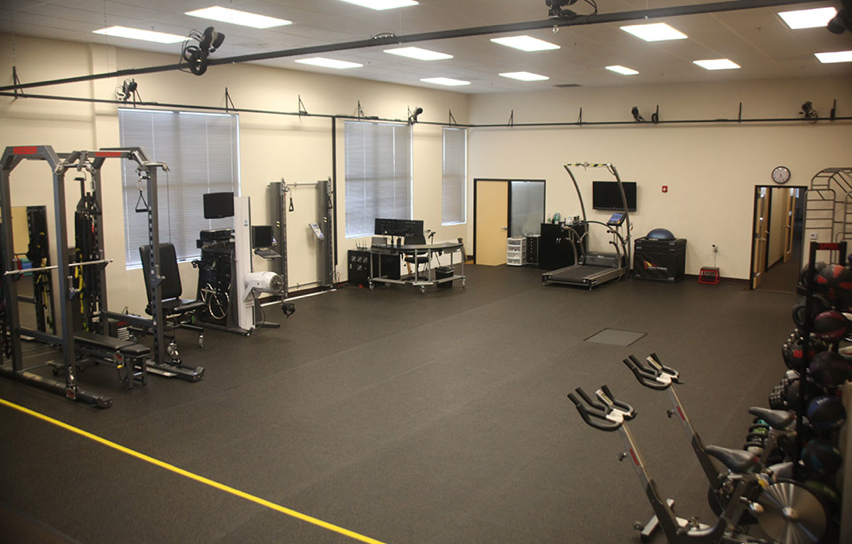
The Movement Performance Institute is a state-of-the-art facility with every imaginable biomechanical testing gadget. They have high-speed cameras, force plates, vector analysis, and probably the most expensive treadmill in the world that measures force, balance and stride length. And that doesn’t cover half of it.
So today I want to outline a few of the terrific techniques I’ve learned over the months at MPI. Whether you have knee pain, or just want to become bigger, faster and stronger, this information is essential to understand.
1. Most people are hamstrings-dominant during hip extension. It’s ideal if the glute max is doing more work than the hamstrings when the hip extends. After all, the glute max is one of the most powerful muscles in the body. If you were a football coach you wouldn’t leave one of your biggest, strongest guys on the bench. The glute max’s crucial role in boosting athletic performance can’t be overstated. However, the gluteal muscles are rarely as strong as they should be.
Take the glute bridge, for example. It’s somewhat ironic that exercise is called a “glute bridge” since it often works the hamstrings harder than the glute max. If you’ve ever experienced a hamstrings cramp during that movement, one reason is because the hamstrings are doing more work than they should.
To demonstrate this hamstrings-dominant phenomenon, Prof. Powers attached two Noraxon EMG electrodes to me. One EMG was on my left hamstrings (shown in pic below), and the other was on my left glute max (underneath my shorts).
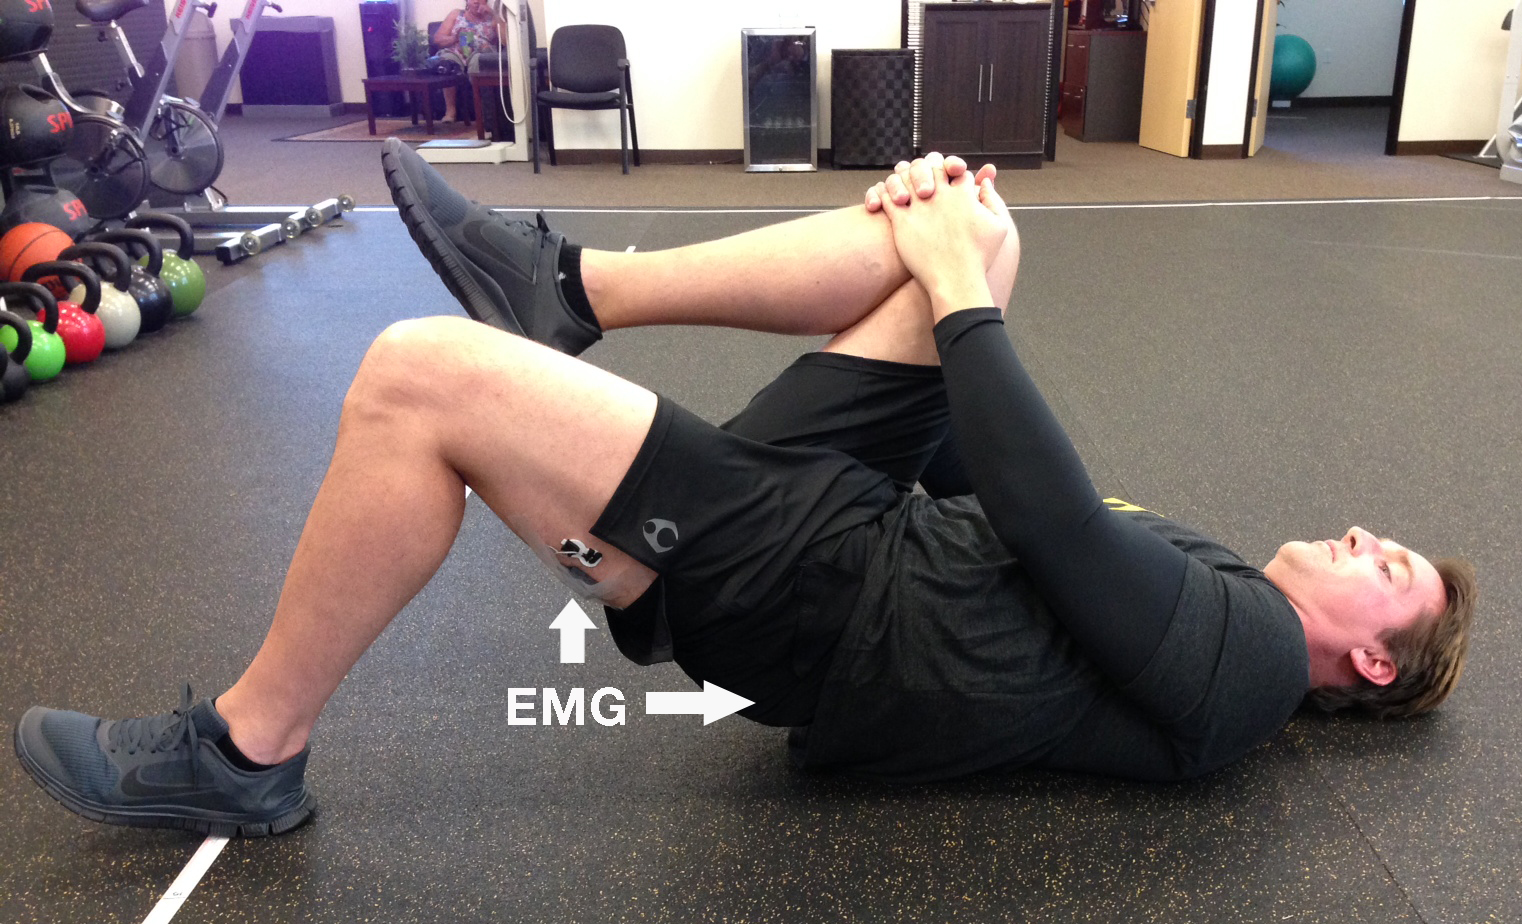
After the two electrodes were attached, I performed numerous glute bridges using my left leg. While I was performing the movement I watched a computer screen that displayed the EMG activity between my left hamstrings and left glute max. I was surprised to see how much EMG activity was firing through my hamstrings – oftentimes more than my glute max.
I quickly learned why the glute bridge is not an exercise of choice at MPI during the early stages of rehab when people have a difficult time activating their glutes .
2. Most people have extremely weak hip abductors. Walk into any gym in the country and you’ll see a plethora of curls, crunches and leg presses. This overemphasis on sagittal plane movement creates critical imbalances throughout the body. The sagittal plane work needs to be balanced with exercises that make you twist (transverse plane) and move laterally (frontal plane). Athletes don’t spend enough time moving laterally, especially against resistance. That’s why it’s one of the many focuses during my 10-week Corrective Exercise Specialist course.
Therefore, it’s no surprise that some of the biggest – seemingly strongest – athletes have extremely low levels of hip abduction strength. At MPI, Prof. Powers’ staff tests the ratio between hip extension, knee extension and hip abduction. When the numbers are crunched, it’s not uncommon to see a 30-40% strength deficit during hip abduction.
Why is hip abduction strength so crucial? Because it keeps the knees from going into valgus – that inward knee buckling when you land from a jump or squat a heavy load. Prof. Powers made a paramount contribution to the world of athletic performance when he demonstrated the relationship between knee valgus and patellofemoral pain.
Indeed, if an athlete wants to perform like superman, knee valgus is his kryptonite.
When the knees go into valgus, two actions are occurring at the hip from a biomechanical perspective: the femurs adduct and internally rotate. So in order to keep the knees out of valgus you must strengthen the antagonist actions of the hip: abduction and external rotation.
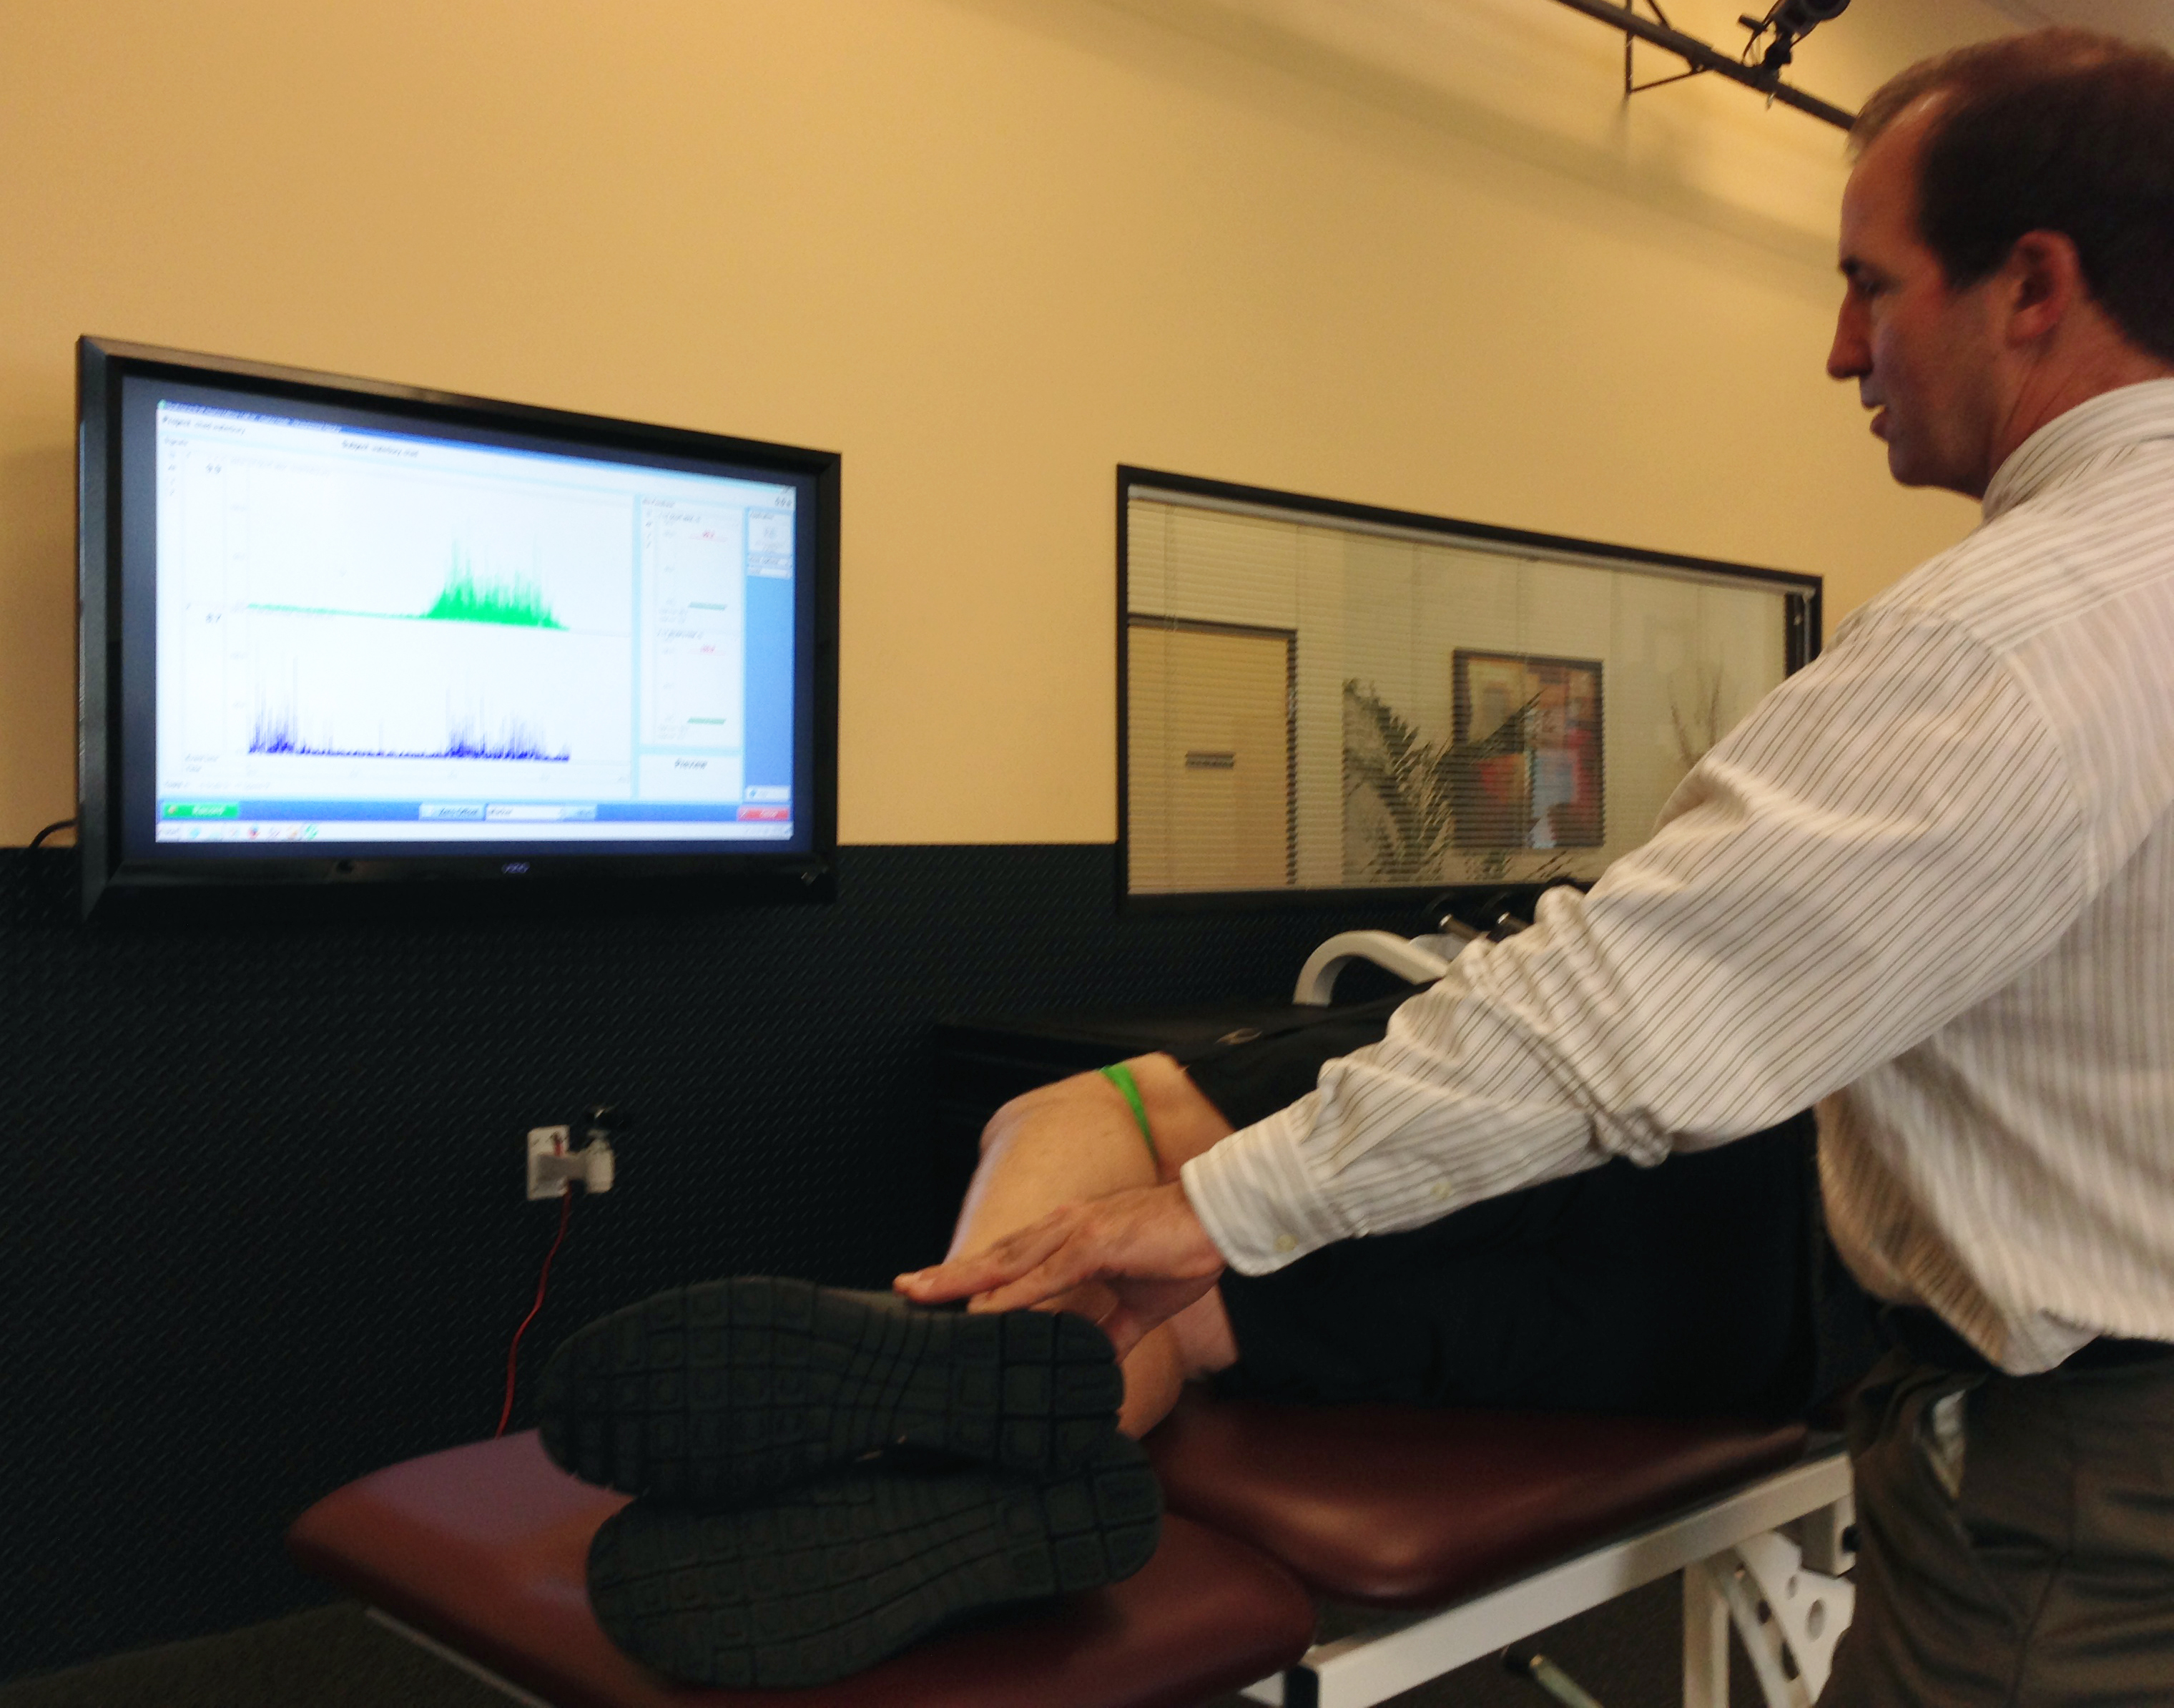
A popular phase 1 exercise at MPI to strengthen hip abduction and external rotation is the clam from the side plank position with a resistance band just above the knees. In the pic below, Prof. Powers is cueing me during the clam as we watch the EMG activity in my left hamstrings and glutes.
Most of us have weak hip abductors because we rarely train hip abduction and external rotation against resistance. Furthermore, Prof. Powers’ research shows that weak hips can lead to knee pain. If you suffer from pain around the patella, it’s highly probably that your hips don’t have sufficient strength or motor control to resist knee valgus during movement.
At MPI, a primary focus with their patients is to strengthen the hips through resisted hip abduction and external rotation. Strengthening those movement patterns will allow you to run faster, jump higher and squat or deadlift heavier loads. And even more importantly to those hobbled by painful knees, stronger hips and a more stabile spine can eliminate knee pain.
Their work starts from the ground up. In the initial phases of physical therapy, athletes strengthen the glutes and synergistic muscles in side lying and quadruped positions. Then they merge into more complex movement patterns such as monster walks and jumps to fine-tune motor control.
Here are a few MPI-approved exercises for strengthening the hips in order to enhance athletic performance and minimize the risk of injury.
Clam with Band: hold for 60 seconds on each side.
The clam with band exercise isn’t performed for reps, it’s a static hold. According to Prof. Powers, a static hold is used at MPI because, “It takes greater concentration and focus to hold the correct position for one minute. This helps improve the cortico-motor excitability.”
The exercise is performed from the side plank position in order to engage the quadratus lumborum (QL) and lats – two crucial muscles for spinal stability and performance.
Clam with Band Technique Tips:
- Stretch band to position shown in the video. Avoid using a band that’s too stiff for your strength.
- Keep the ribcage down and abs tight.
- The top hip should not roll backward as the band is stretched.
- You should feel the glutes working instead of the hamstrings and low back.
- Perform 1-2 sets on each side every day and before your workouts.
This is a phase 1 exercise to strengthen the hips and core. Once you can hold a minute with a black Perform Better mini-band (guys) or blue band (gals), progress to the fire hydrant from the quadruped position.
Fire Hydrant with Band: hold for 60 seconds on each side.
The fire hydrant with band is a favorite at MPI because they’ve performed plenty of research to show its positive influence on hip and core strength. Once again, a static hold is used to improve cortico-motor excitability (i.e., the signal between your brain and glutes).
Fire Hydrant with Band Technique Tips:
- From the quadruped position, lower the ribcage and tighten the abs.
- Lift one leg out to the side (abduct) and slightly back (extend) as shown in the video.
- Keep the hips as level as possible.
- Keep the chin tucked and shoulder blades apart by pushing your hands into the ground.
- You should feel the glutes working instead of the hamstrings and low back.
- Perform 1-2 sets on each side every day and before your workouts.
Once you can hold a minute with a black Perform Better mini-band (guys) or blue band (gals), progress to the lateral stepping.
Lateral Step with Band: 10 steps in each direction.
The lateral step with a band is an essential exercise for developing motor control once the hip abductors and external rotators have been strengthened in the side lying and quadruped positions. Oftentimes you’ll see this exercise performed with a band around the ankles. However, Prof. Powers favors the band around the lower thighs because the tactile cue from the band helps keep your knees apart. When the band is around the ankles it’s easy to let the knees collapse into valgus.
Furthermore, the hips should hinge back and the trunk should be forward so the chest is over the knees. This body position stimulates the glutes since they’re firing to resist hip extension.
Lateral Step with Band Technique Tips:
- Maintain a hip hinge and forward trunk.
- Push off through your heels and keep them down while you step.
- Don’t let the head bob up and down – keep your level constant.
- As you step to the right, push your left knee to the left, and vice versa.
- You should feel your hips/butt working, not your low back, hamstrings or hip flexors.
- Perform 1-2 sets every day and before your workouts.
The lateral step exercise is one of the new moves I have all my clients do at the beginning of their workouts. Turning on the glutes is essential before any type of training, and this specific version is the best I’ve seen.
How to Use this Information
These exercises serve two important purposes. First, they’ll help you relieve knee and low back pain. Perform 1-2 sets of each exercise every day until the pain subsides. Second, they work as terrific activation exercises before any workout. You’ll lift heavier loads and help safeguard yourself against injury. Perform 1-2 sets of each move before your workouts.
Most men should start with a blue or black band; women can start with a yellow or green band. The Perform Better mini-bands can be purchased at this Amazon link.
Once you master those exercises, move on to a more complex training sequence for your glutes such as my Ultimate Gluteal Development as shown below:
In the later stages of rehab, or when you’re trying to build high-performance athleticism with single-leg exercises, the single-leg hip hinge and low-pulley row is a terrific choice:
If you’re interested in the biomechanics of knee injury, I highly recommend you check out Prof. Powers’ clinical commentary at this link.
Finally, if you have a nagging joint pain or you’re trying to train around pain, check out my Powerful Mobility ebook for awesome corrective exercises.
Stay Focused,
CW